Last Updated on 2026-09-06 by william
原本要用 ucs 做網域主控站的,但是發現商用要授權,就立馬改用 nethserver 8。ns8 能支援 domain level 2016,底層用 podman 容器,真合我意。ns8 限定用 redhat 系列,包括 RockyLinux 9,也支援 Debian 12;我以前用 centos 出身的,用起來很順手,而且 ns8 用安裝的方式,相對於 ucs 必須專用不能安裝其他非 ucs 規定的 APP,更具彈性。
ns8 安裝很簡單,卻很艱難
- 安裝 RockyLinux 9 minimal install (最小安裝)
安裝時,建議多安裝 epel-release
請參考這裡
因為最小安裝只有文字模式,可以用 nmtui 指令設定 ip - 安裝 ns8
curl https://raw.githubusercontent.com/NethServer/ns8-core/ns8-stable/core/install.sh | bash
安裝完畢,登入預設的帳號密碼
NethServer cluster-admin UI:
  - https://localhost/cluster-admin/
  - https://ip/cluster-admin/

account:  root or admin
password: Nethesis,1234- 設定 cluster 主節點,這節點的名稱建議是對外 dns ,方便取得 let’s encrypt 證書
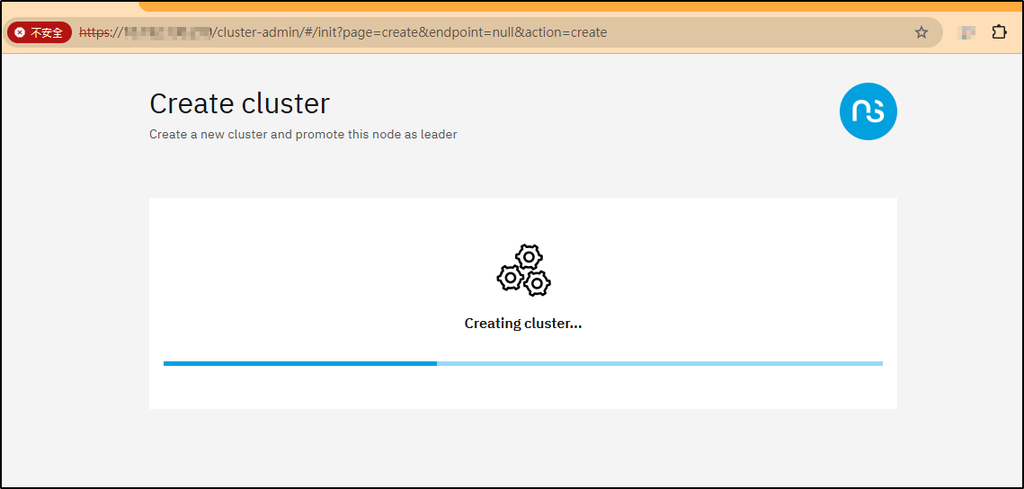
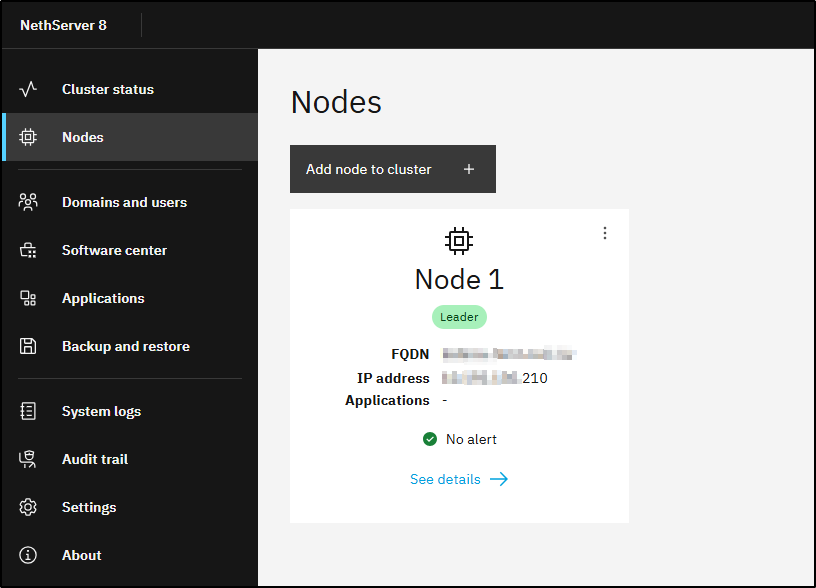
- 新增網域,這網域名稱可跟節點的網域不同,本地端使用
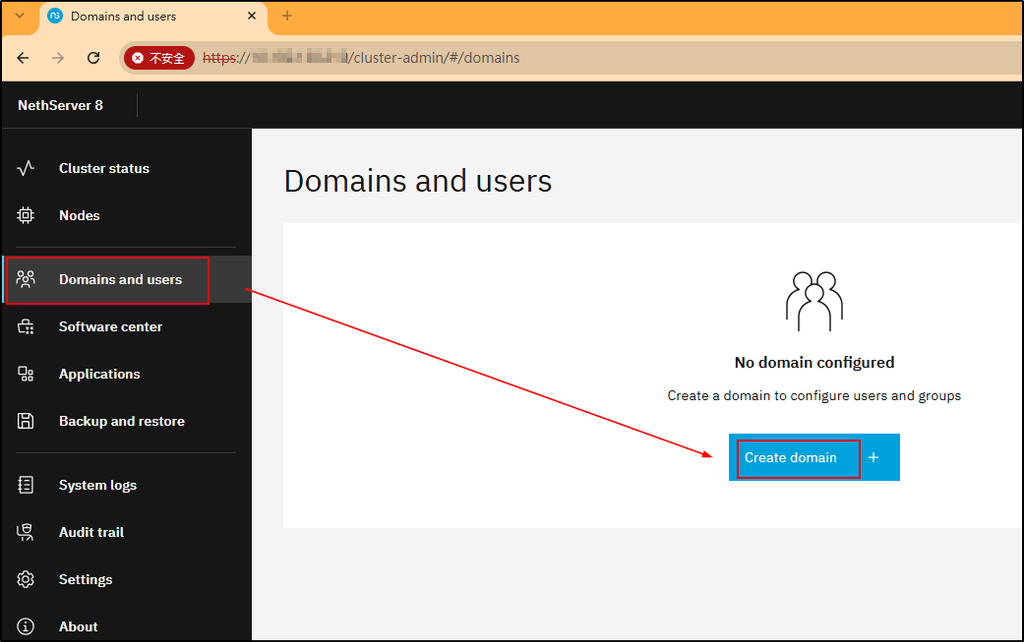
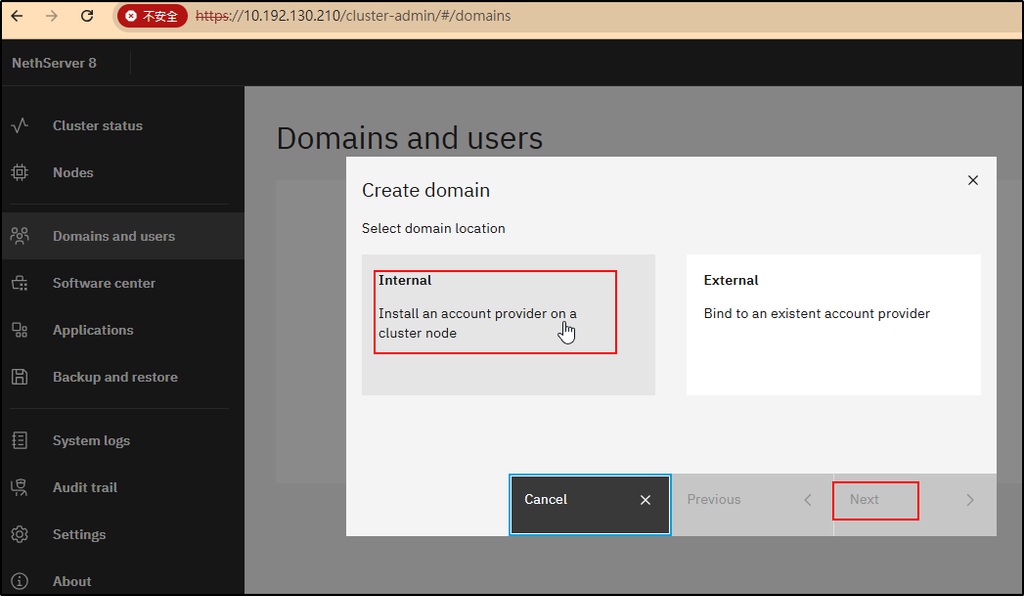
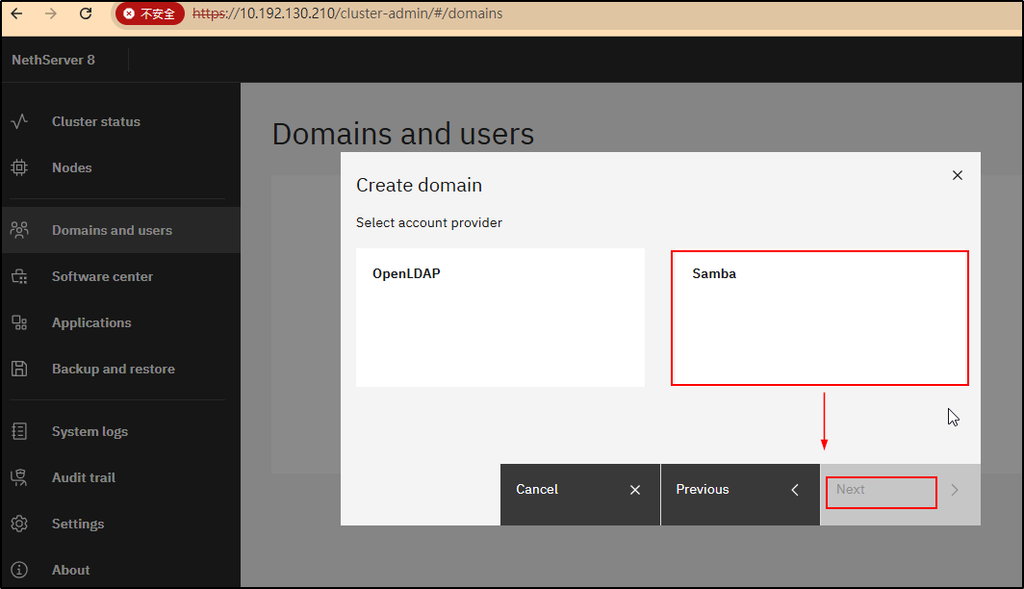
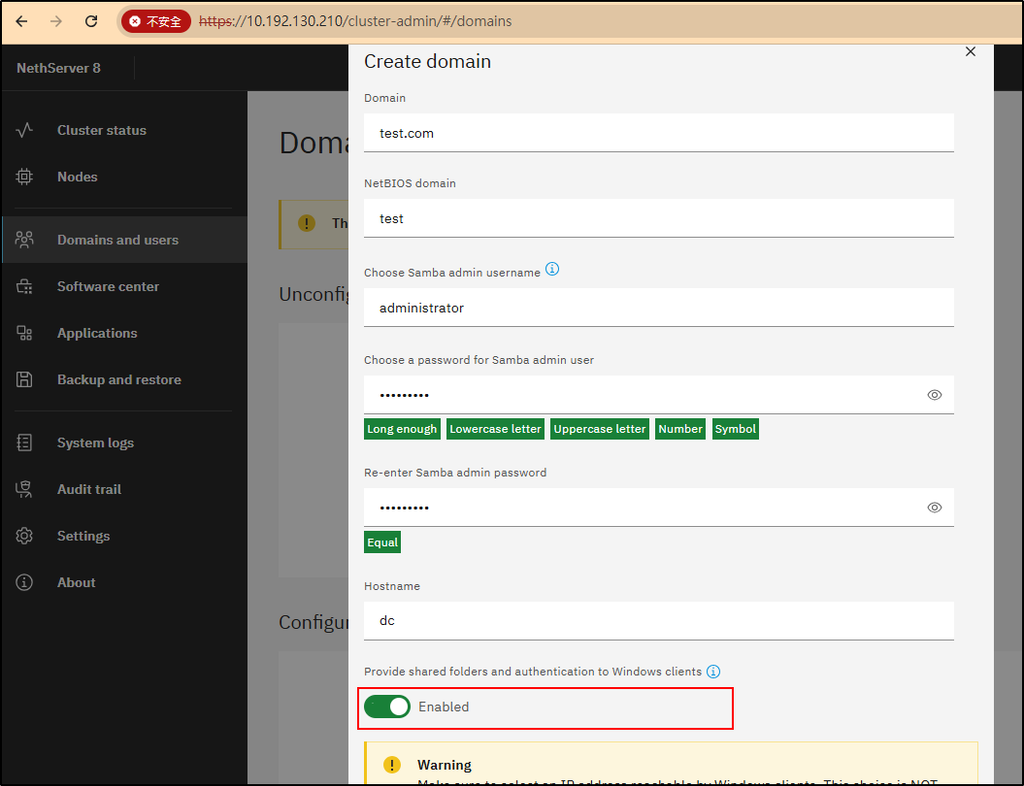
輸入相關資料,最底下 Enabled 要開啟
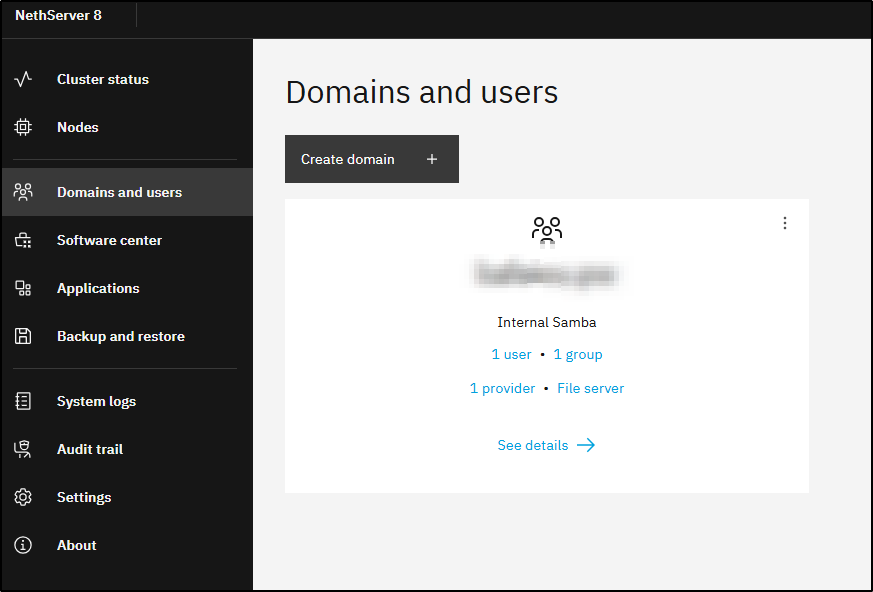
網域安裝完畢,但此時預設只有 2008R2
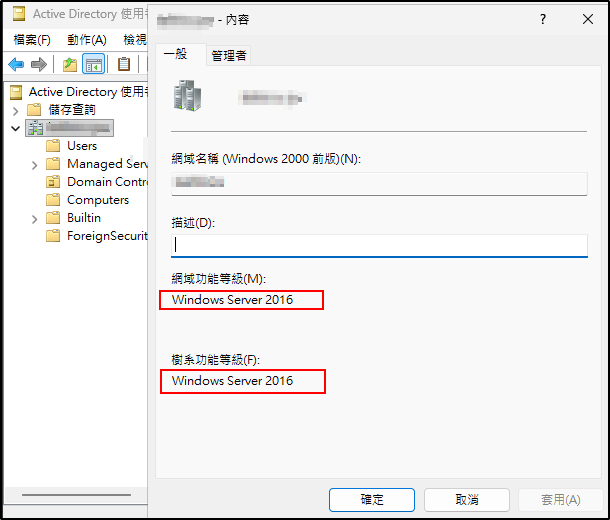
安裝網域完畢後,要修改一些資料,才能提升到 domain level 到 2016
- 先確認有哪些容器
# 查看有哪些使用者,這是讓 podmain 以什麼使用者執行容器
ls -al /home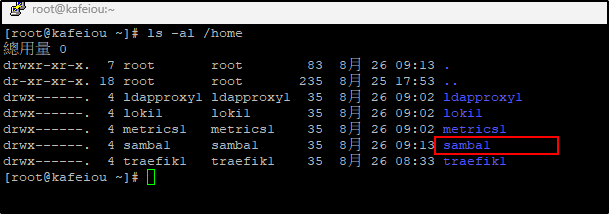
我們要得使用者預設是 samba1
# 查看 samba1 有哪些容器
[root@kafeiou ~]# runagent -m samba1 podman ps
CONTAINER ID  IMAGE                                        COMMAND     CREATED         STATUS         PORTS       NAMES
afb77a26b263  docker.io/timescale/timescaledb:2.28.3-pg17  postgres    45 minutes ago  Up 45 minutes  5432/tcp    timescaledb
62334c9efe27  ghcr.io/nethserver/samba-dc:3.4.8                        41 minutes ago  Up 41 minutes              samba-dc
修改 samba.conf 或是 include.conf,增加一條,我是在 include.conf 增加的
ad dc functional level = 2016[root@kafeiou ~]# runagent -m samba1 podman exec -it samba-dc bash
root@dc:/# vi /etc/samba/smb.conf
bash: vi: command not found
root@dc:/# vi /etc/samba/
gdbcommands include.conf smb.conf smb.conf.distro tls/
root@dc:/# more /etc/samba/include.conf
#
# Empty file, placeholder
# It is safe to manually edit this file. Changes are preserved.
#
ad dc functional level = 2016
root@dc:/#
另外我先前弄 mail server,關於通訊錄能不能通,windows 11 失敗了,使用 3268 不加密的 port,後來 include.conf 加上以下兩個設定就成功了,我沒怎麼測試,就不知道會不會影響其他連線的加密協定就是了。
ldap server require strong auth = no
allow sasl over tls = false重啟容器,這樣才可以繼續以下升級步驟
runagent -m samba1 podman restart samba-dc第一步:結構升級
runagent -m samba1 podman exec -it samba-dc samba-tool domain schemaupgrade --schema=2016
第二步:環境準備
runagent -m samba1 podman exec -it samba-dc samba-tool domain functionalprep --function-level=2016
第三步:正式變更功能等級,升級至 2016 (之前有人遇過要慢慢升級的 2012_R2 -> 2016 )
runagent -m samba1 podman exec -it samba-dc samba-tool domain level raise --domain-level=2016 --forest-level=2016
接下來是 windows 11 用戶端
第一步:啟用 rsat 工具 ( power shell )
Get-WindowsCapability -Name RSAT* -Online | Add-WindowsCapability -Online第二步:加入網域
第三步:使用網域管理者登入 windows 11,輸入以下管理指令
dsa.msc:開啟 Active Directory 使用者和電腦
gpmc.msc:開啟 群組原則管理
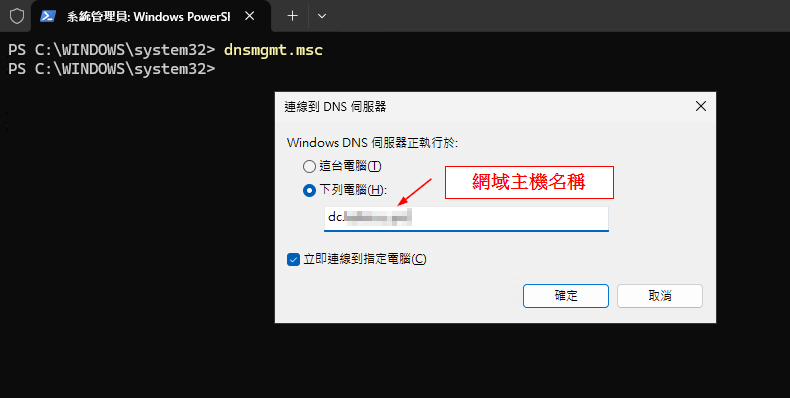
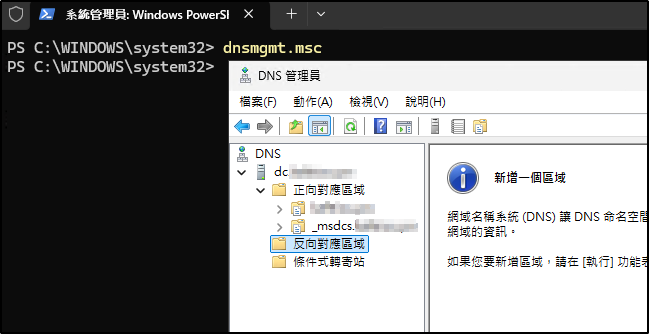
dnsmgmt.msc:開啟 DNS 管理員
dhcpmgmt.msc:開啟 DHCP 管理員
compmgmt.msc:開啟 電腦管理(可用於遠端連線其他伺服器)這樣就可以管理帳號密碼,DNS等等了
完成升級,好累